
This Week’s task is to create Assets for a Horror themed environment. we can choose the cliché assets ranging from Haunted houses, Pumpkins to Old/Rotting Wood. We are also learning how to make low poly models to use for our environments we are making for our Assignments.
I went with creating 3 different types of tombstones, like the cliché of going through a cemetery or an abandoned church. Tombstones are easy to make and there is plenty of references to go off and make from.
Curved Tombstone
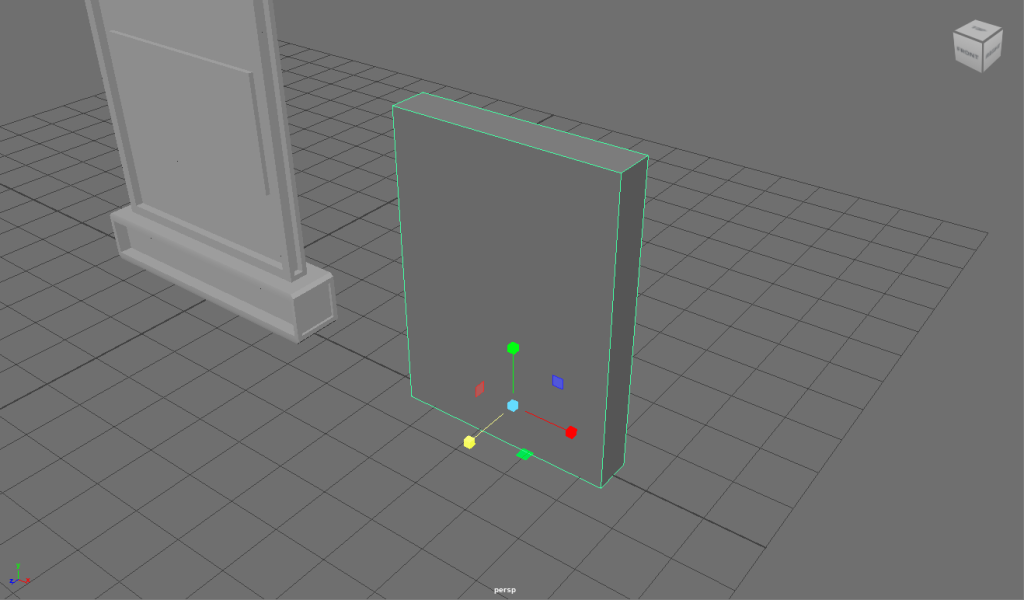
I created a quick low poly Cube and used the Move (W) and Scale (R) to flatten and stretch the cube to make it look like a flattened rectangle. This made it look like a simple flat tombstone.
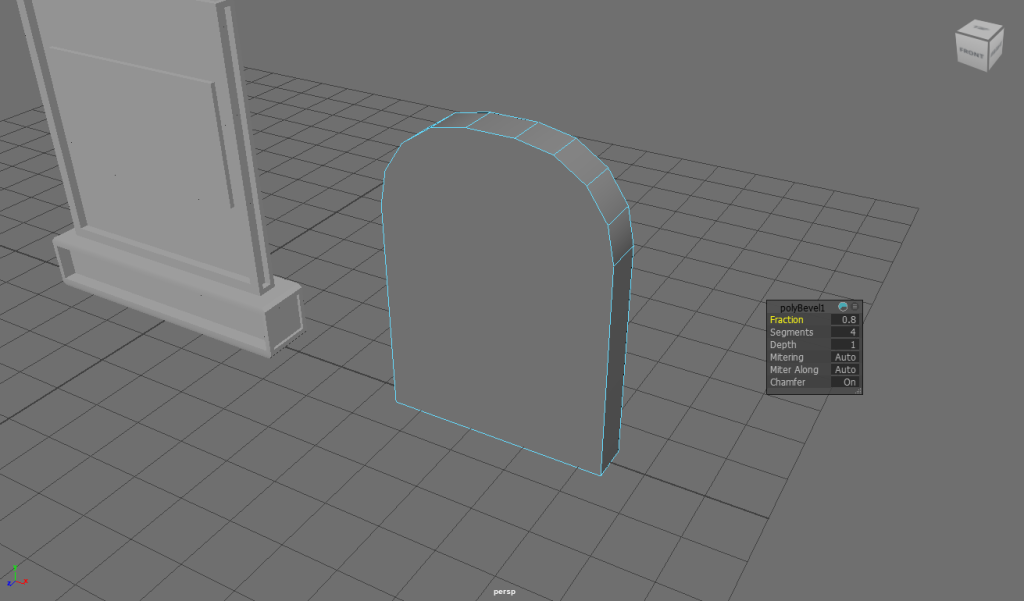
Whilst having the top Edges of the tombstone selected, I used the Bevel Components tool to make low poly corners and added in more segments to add more curves to the tombstone. I added this because it would give the tombstone better detail and make it less boring or bland to look at.
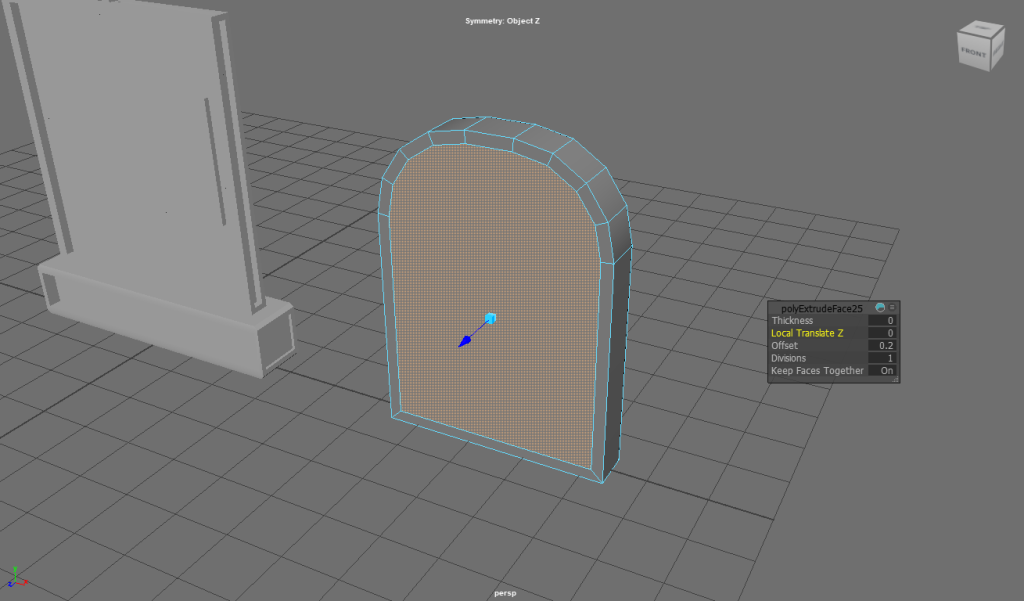
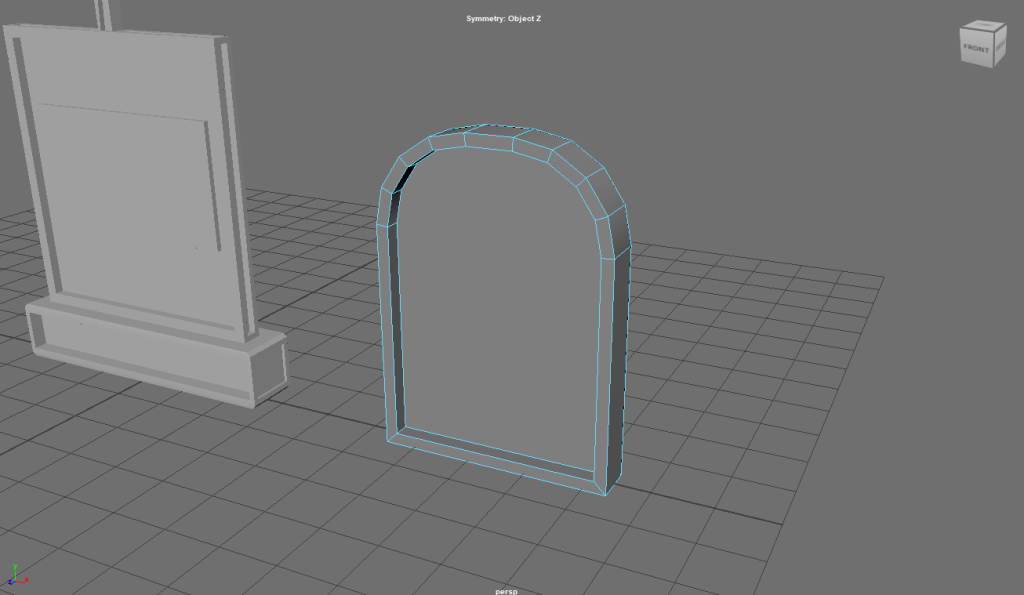
Using the Bevel Tool, making the offset small, I created a baseplate of the tombstone sinking in to add more detail, make it more fancy and add the ‘non-existent details’ area onto the tombstone, even place text If I wanted to.

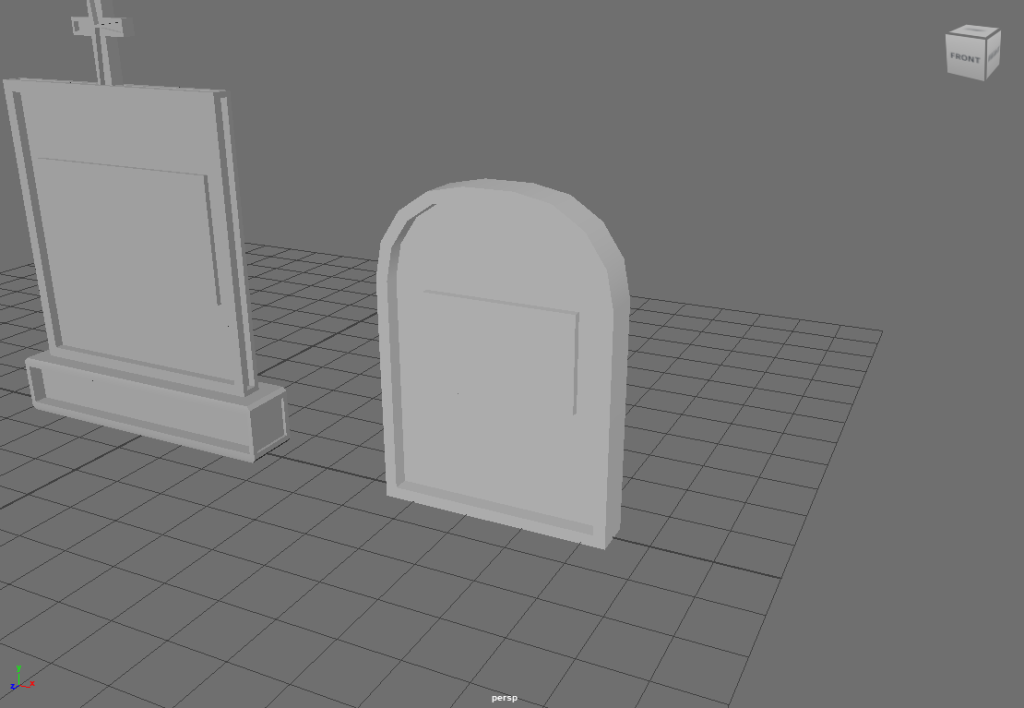
Added in another cube and shaped it into a text box for anything to be written onto. This could show random names, real people, dev or Easter egg names. Then for the finishing touches, added in the colour of a light grey to show they are new but can add old/cracked variants to add further detail and depth.
Casket Tombstone
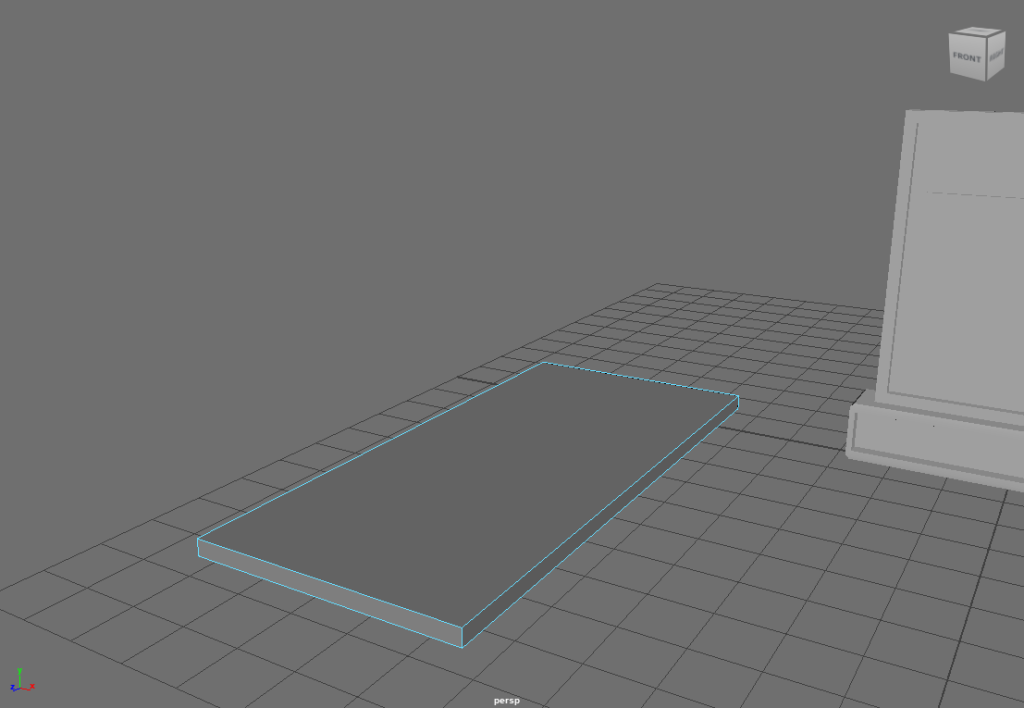
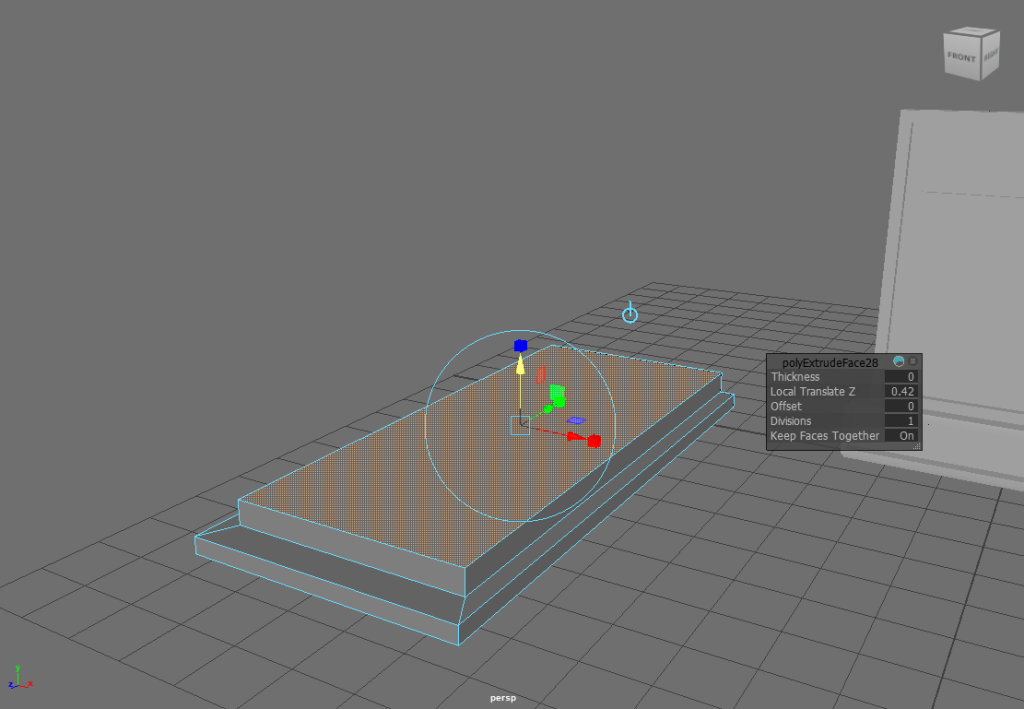
Another simple low poly cube, stretched and flattened to look more like a flat casket or stepping stone. Then using the Bevel Tool to make a smaller rectangle and lift it up higher for better detail.
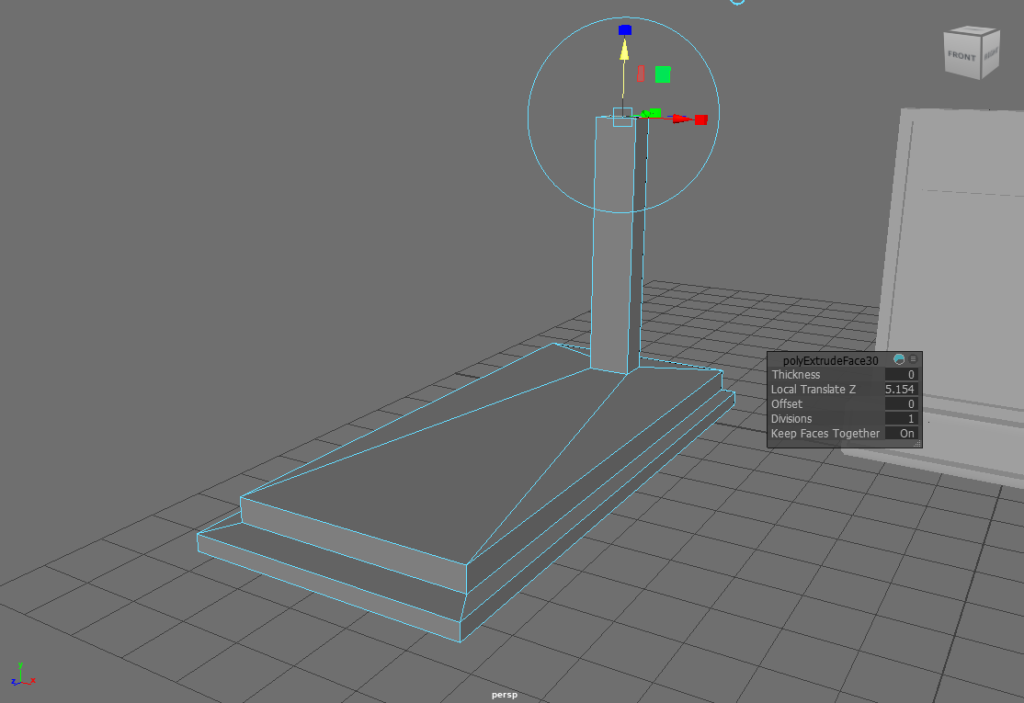
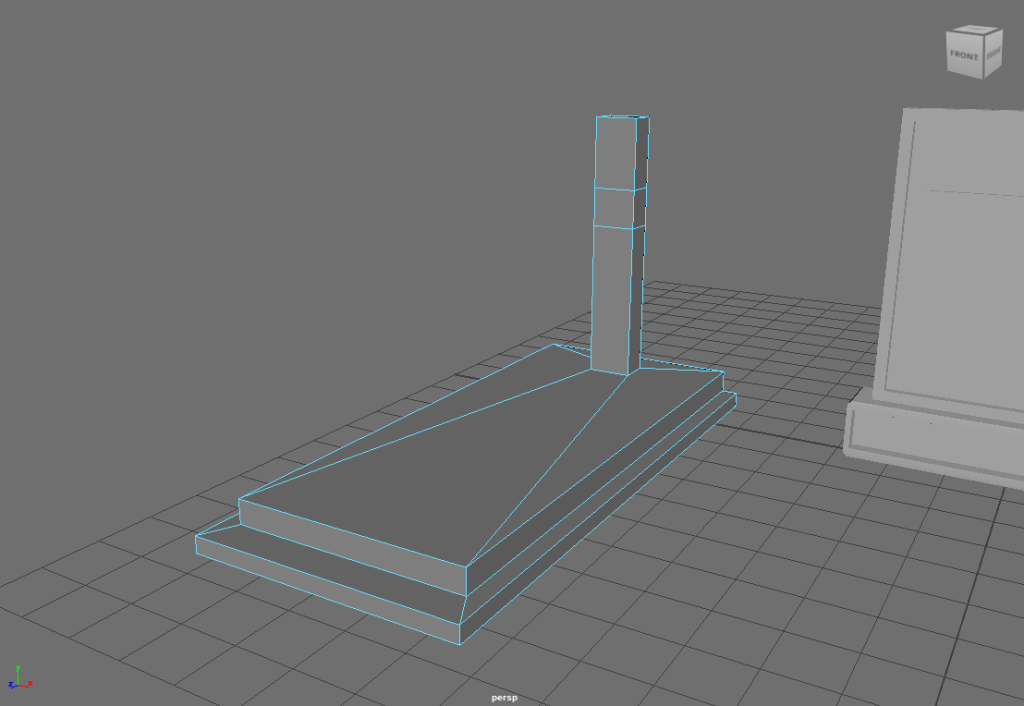
I used the Bevel tool to make a pole stick out at the front of the casket, brought it up to a decent height. This was going to be the cross for the Tombstone and give it more detail and make it less boring.
Then with the cutting tool and holding CRTL, I make a Square cut shape into the rectangle and this will allow me to Bevel outwards to make more interesting shapes.
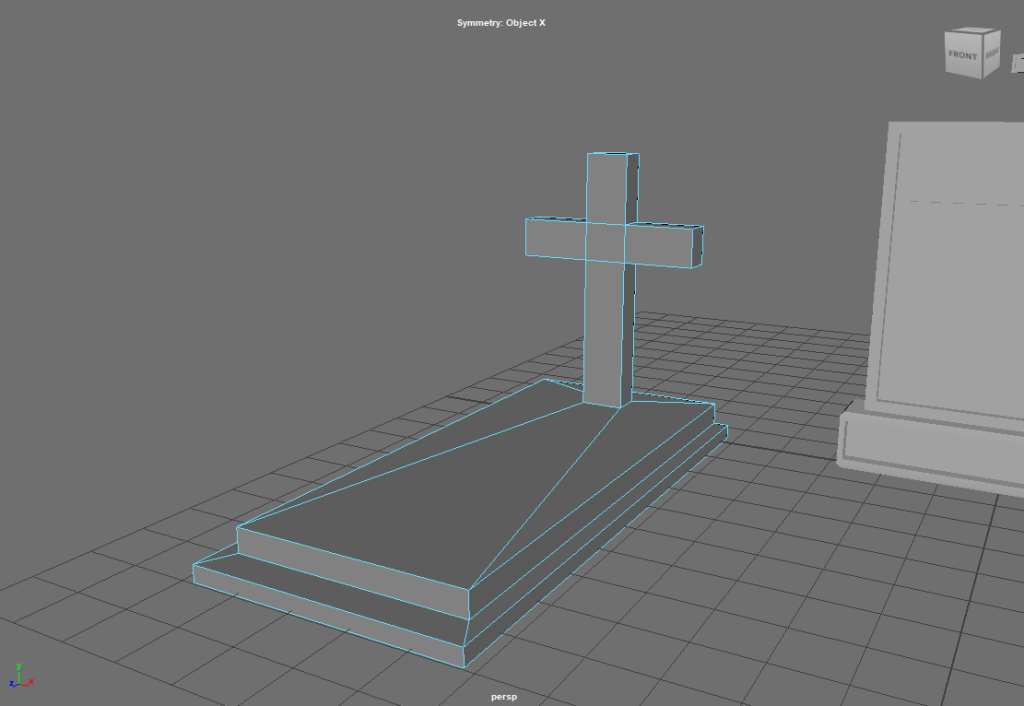
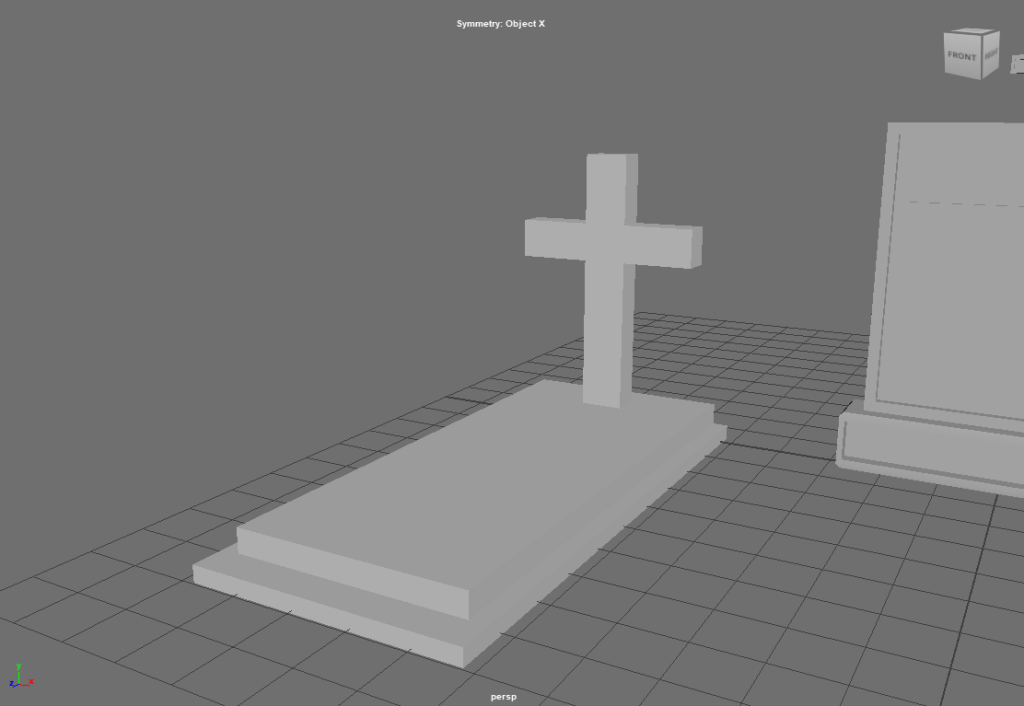
I Bevel out the sides of the cut faces and make a Christian Cross out of it. Then to finish it off, I add in the colour to make it match the other Tombstone assets. Maybe at some point, I could different shades of grey/silver to add more variety to the environment.
Final Results
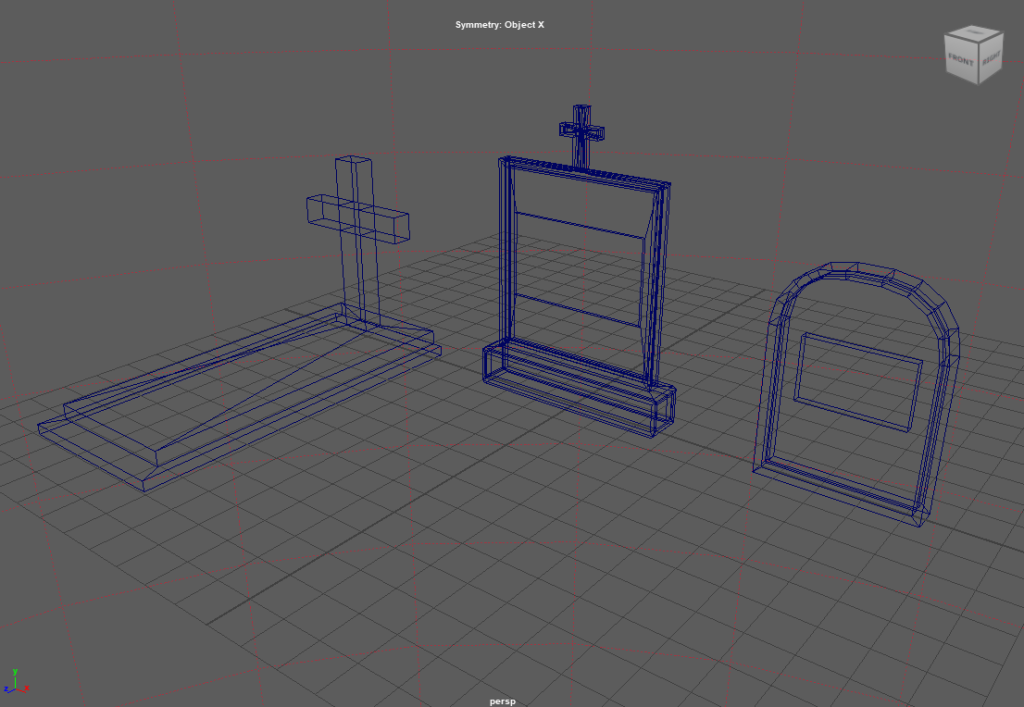
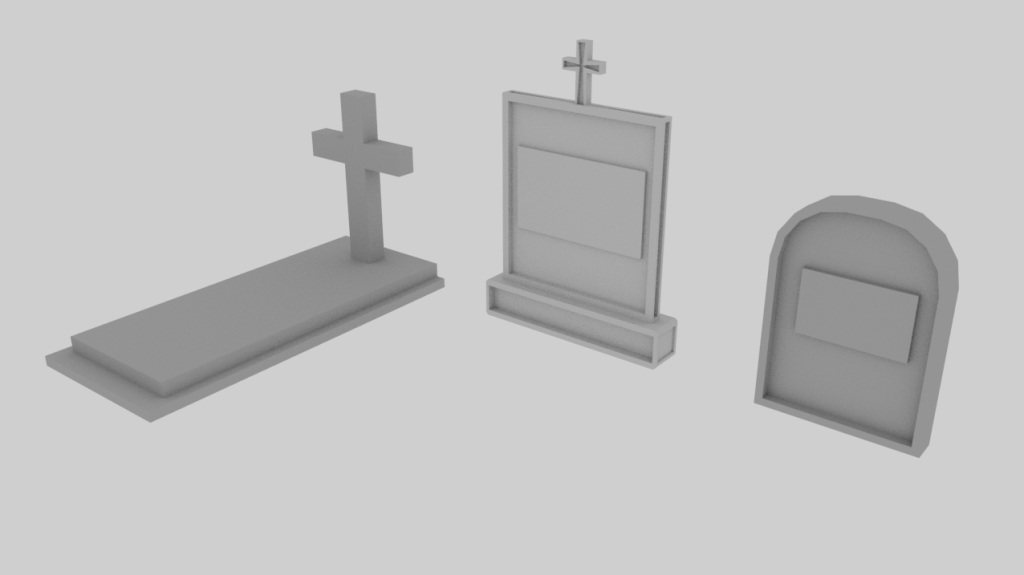
When I press 4, the low poly models will turn into blue lines, so this allows us to see its shape better, what has been Bevelled and what shapes are individual. Maya allows us to render out the Assets, Environment and Lighting to show us what It will look like when its ready to be used.
Why did I choose the Bevel & Cutting Tool?
Bevelling a Shape or Object, will allow us to keep building more shapes of the base without needing to add in extra shapes, this saves us time, data and keep all shapes into one listed Object.
Cutting will work almost the same as the Bevel Tool, allowing to add further shapes from the existing ones and allow for better customisation for our Assets and Objects. Again, saving extra shapes, time and data space.
What have I learned from this?
I have learned how to use the basic shapes to make objects and create low poly models for my environments. I have learned to select Faces, Edges to help better use the Bevel Tool. I learned to Move, Rotate and Scale objects to make Assets of my liking.
I have also learned how to use the Bevel and Cutting tool to create efficiency for my Projects and save extra space and data.